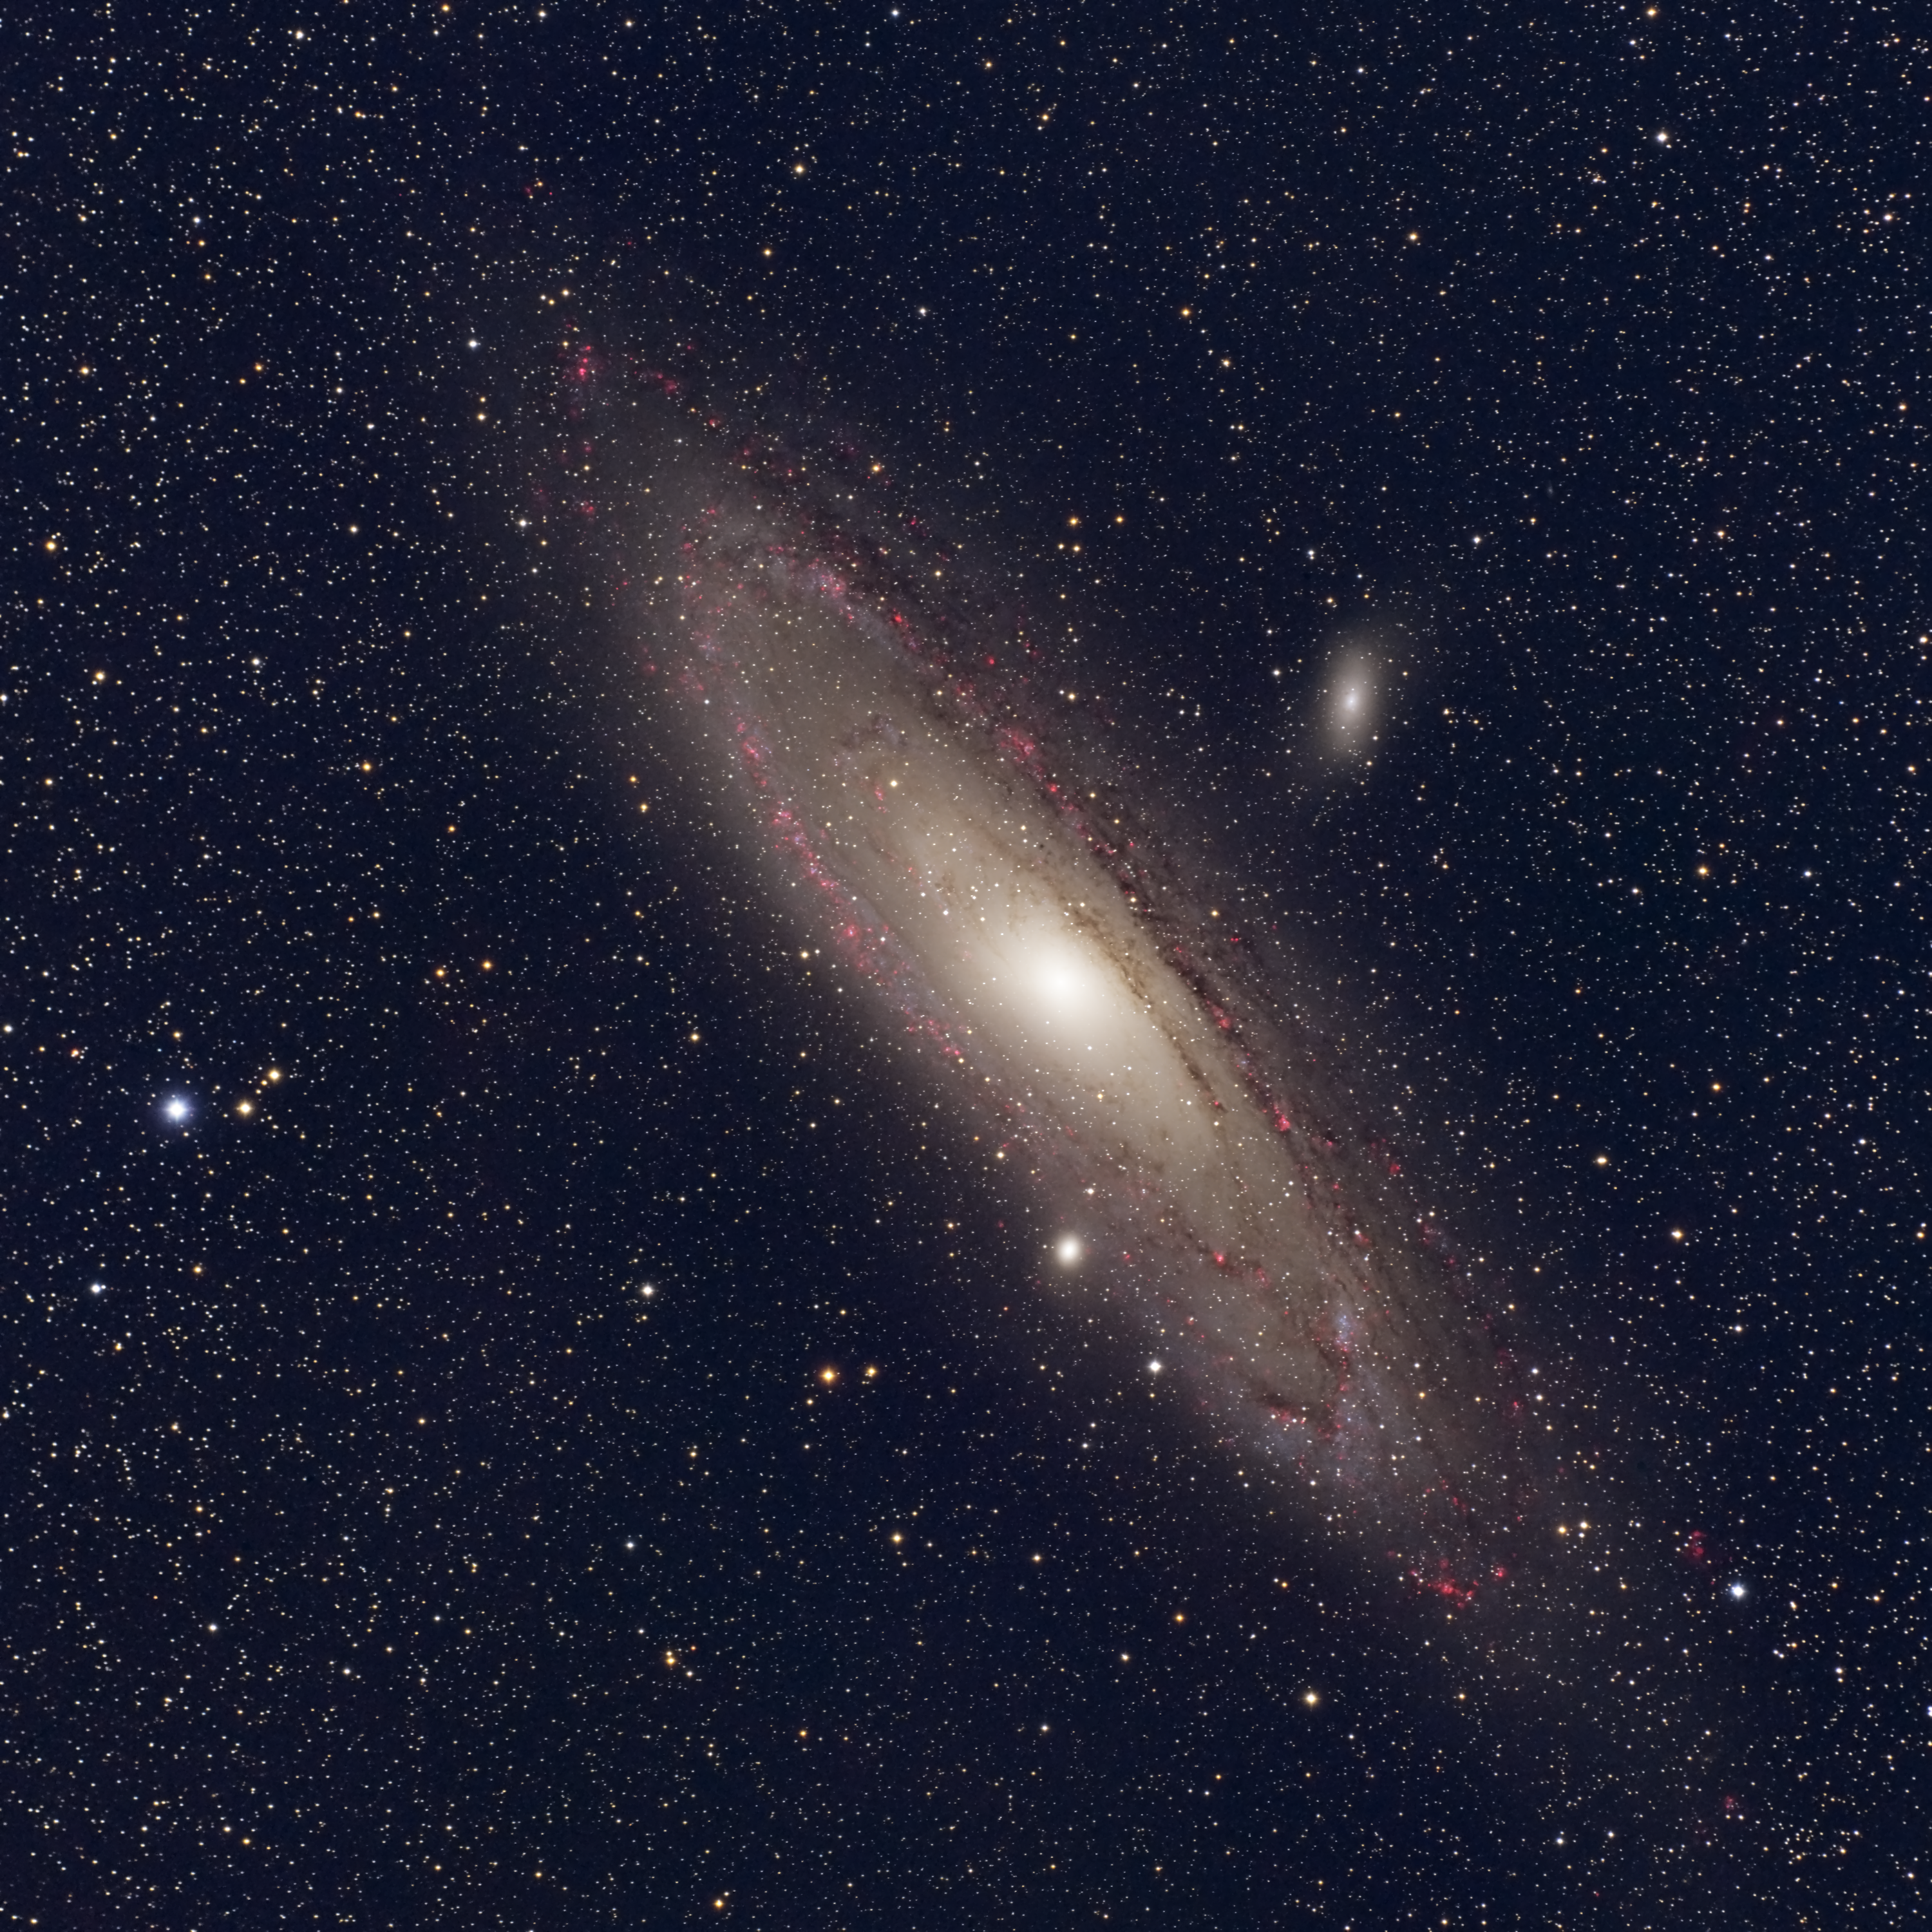
M31 Andromeda Galaxy (and associates)
July
- September 2013
This is a Narrowband for Stars (nb4stars) project. For more on the
theory of what I am trying please consult the nb4stars
page.
The Andomeda Galaxy is the most distant object that can be seen with the
naked eye. It rises as the summer Milky Way is setting. Both Andromeda
and the Milky Way belong to the Local
Group which is the collection of relatively close galaxies. The Milky
Way, Andromeda Galaxy (Messier 31 or NGC 224), and M-33
(which
is
associated with M31) dominate the Local
Group. The rest of the members are small galaxies or even
smaller dwarfs.
M31's has a number of satellite galaxies, These are spread over the fall
sky. As mentioned above the 3rd largest galaxy in the Local Group,
M33, appears to have interacted with M31 in the past. It is located in
Triangulum some distance from M31. Two other smaller galaxies
(NGC 147 and 185) are located between Andromeda
and Cassiopeia. Two others orbit close to M31 (M32 and M110).
A telescope with a wide field of view will easily show M32 as a fuzzy
ball next to the bright center of M31. M110 is more of a challenge
since its surface brightness is lower, but can be observed in a dark sky.
I started collecting data for this project right before sunrise in July.
By September I was able to collect for most of the night. This
project used my nb4stars filter set; Strömgren V and Y filters (which I
designate as sV and sYel), a 20 nm Hydrogen filter, and a 3nm Hydrogen
filter. The sV and sYel data were only collected with the moon fully
down. The Hydrogen was collected with partial moon.
Half Size Image
This image is displayed at half resolution (~ 7"/pixel).
Click
on the image above for a full size image.
The full size
image shows the structure of the spiral in more detail.
Note also NGC 206. For comparison here
is a closeup using a larger scope.
|
The annotated image is also presented below.
The first thing I noticed when processing the image was how well the spirals
show. Visually it is tough to see the inner spirals. Even with a
30" telescope you can only see the outer spiral
and even then it requires a good night. The 3 nm Hydrogen filter
easily collects the star forming regions so adding it to the base RGB image
makes for a much more dramatic image.
Composing the Images
I completed the processing of this project immediate following the M8
project. This processing was simple compared to the struggles I had
with that project. All processing was done using Pixinsight 1.8.
Data Collection
Even with 15 minute exposures my narrowband filters collect a very weak
signal. Thus I purposefully collected data until the moon shut me
down.
Filter
|
Exposure
|
Number of Images
|
sV (Strömgren V)
|
900
|
33
|
sYel (Strömgren Y)
|
900
|
31
|
20nm Hydrogen (Ha20)
|
900
|
28
|
3nm Hydrogen
|
900
|
31
|
All filters were Astrodon
Combining the H data
Note: During the 2014
Katonah
NY workshop Vicent updated the equations he uses. See 16M81/M82
The first step was to form a
composite of the Ha20 and 3 nm Ha that will enhance the Hydrogen rich areas
without blowing out the red portion of the stars. The best method I have
found is the Vicent Peris technique described in this Harry's
Astro Shed tutorial.
With my filters the final Red Image was formed in two steps using PixelMath
- H_VP = ((Hydrogen*20)-(Ha20*3))/(20-3). You can see the result
of this operation here.
- R_VP = Ha20+(H_VP-Med(H_VP))*4
An initial RGBpH image is then created by using ChannelCombination to
combine R_VP, sYel, and sV to an RGB image.
As an example here is a before and after
Before

This shows the rather flat appearance of the RGB before adding Ha.
At this point Color Calibration has not been done. The
Ha20 filter will collect more hydrogen relative to its bandwidth
than a conventional R filter. Thus the star forming regions
are just starting to show. |
After

Adding the 3nm Ha makes the star forming regions pop.
At this point the image is a bit red. That will be corrected
in later steps. |
G2V Color Calibration
To insure that stars are the correct colors one images a reference G2V
(i.e. sun like) star. You then balance the colors so this star
appears white. I shot M31 in a wide swath of sky so no single
calibration was going to be perfect. I tried letting Pixinsight
calibrate via structure detection, but that did not give good results.
Thus I used a color calibration for a star that is high in the sky
(since almost all images were shot about 50 degrees elevation).
For this project I used HIP 96037. From this I determined that the
correction should be
Ha20
|
0.38
|
sYel
|
0.26
|
sV
|
1.0
|
These were used for color correction in PixInsight. The initial
color correction worked well with the galaxy mostly a white color with a
slight red tinge. However, after stretching the galaxy got a yellow tint
(too little blue). I removed this using a masked
CurvesTransformation that increased the blue.
How accurate are the star colors? For comparison here
is an version of the image with the BV Index of the stars
annotated. The reader can decide for himself if the colors are
accurate.
Once color calibration was done I used TGVDenoise to reduce the noise in
the background. I was happy with the stars so I did not bother using
deconvolution .
Stretching
So far the image had been linear. I used a simple HT to stretch it.
I was not happy with the results when I tried a masked stretch.
Bringing Out the Structure
A lot of structure was apparent even at this point. To make sure
the final image did not look over processed I used the sharping tools very
judiciously.The first is HDRMultiScaleTranform which spreads the
brightness over a wider range of values. I then added a bit of
DarkStructureEnhance and LocalHistogramEquilization.
Final Steps
Finally I used MMT to further sharpen the structures the previous steps
disclosed. Then another pass of TGVDenoise to remove the last noise.
Map


Copyrights
for Photos
(c) 2013 Robert J Hawley. Some Rights Reserved.
11/23/17
